
How to Edit Text in an Image: A Practical Workflow
A practical image-text editing guide with illustrative poster and menu examples, review steps and the limits of background preservation.
A flattened image is a grid of pixels. A word that was editable in a design app becomes part of the picture when the file is exported. This guide walks through a small correction and the checks to make before using the edited image.
The images below are inherited from the backend example set and are used as illustrations. They are not EditText customer submissions or measurements of EditText production performance.
1. Decide whether the image editor is the right tool
If you still have the layered Figma, Canva, PSD or slide file, edit the text object there. That is the best route when the font, kerning and layout must be exact. An image editor is useful when only a PNG, JPG or WebP remains and you have permission to change it.
Start with one short phrase in the EditText editor. Rewriting a whole paragraph asks the model to make decisions about line length, spacing and the surrounding artwork. A one-line correction is easier to specify and easier to reject if something goes wrong.
Do not upload confidential material. In this version, image files use public-by-link storage URLs and the configured provider receives the image to process the request. Read our Privacy Policy before uploading anything sensitive.
2. Upload the best source you have
Sign in, then upload a PNG, JPEG or WebP under 10 MB. Use the original export rather than a copy that has been repeatedly compressed or downloaded from a messaging app. Converting a blurry JPG to PNG cannot recover missing letter detail.
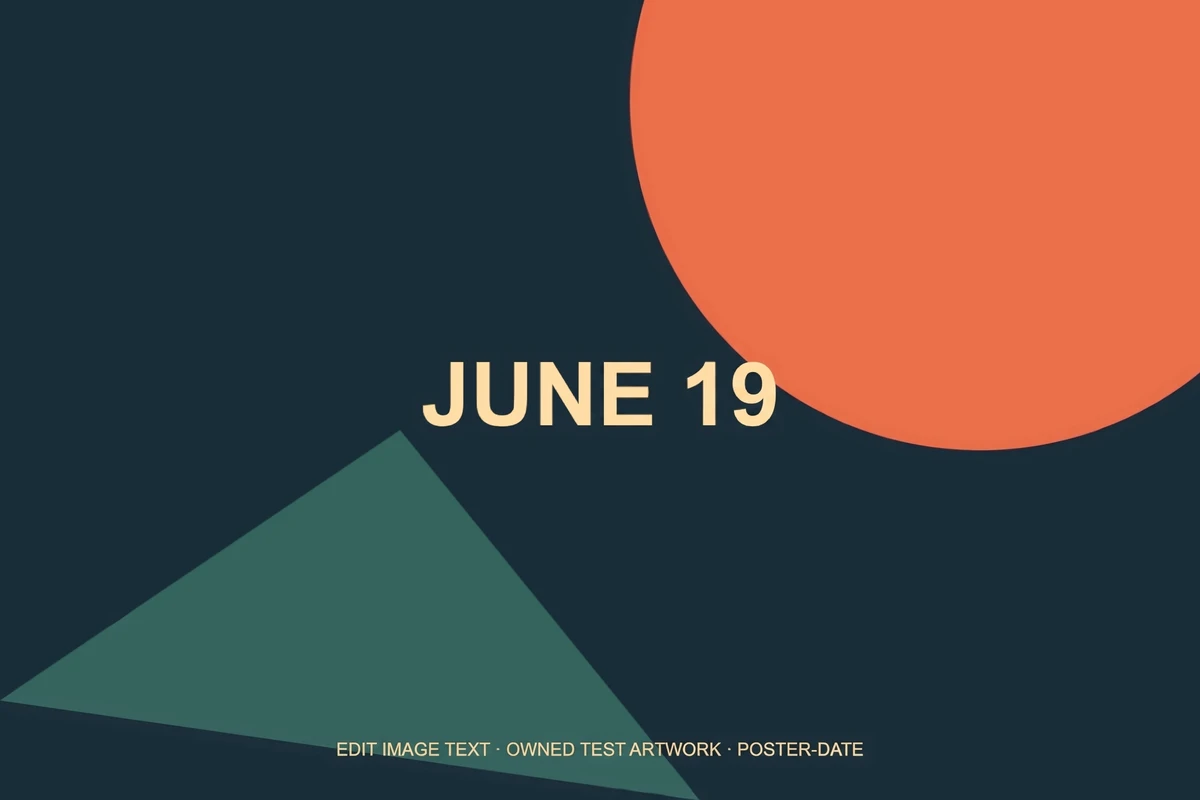
To change the date on a poster, start with the complete date. In the poster illustration, the source is 1200 × 800 pixels and the phrase changes from JUNE 12 to JUNE 19. It uses large lettering and a simple illustrated background.
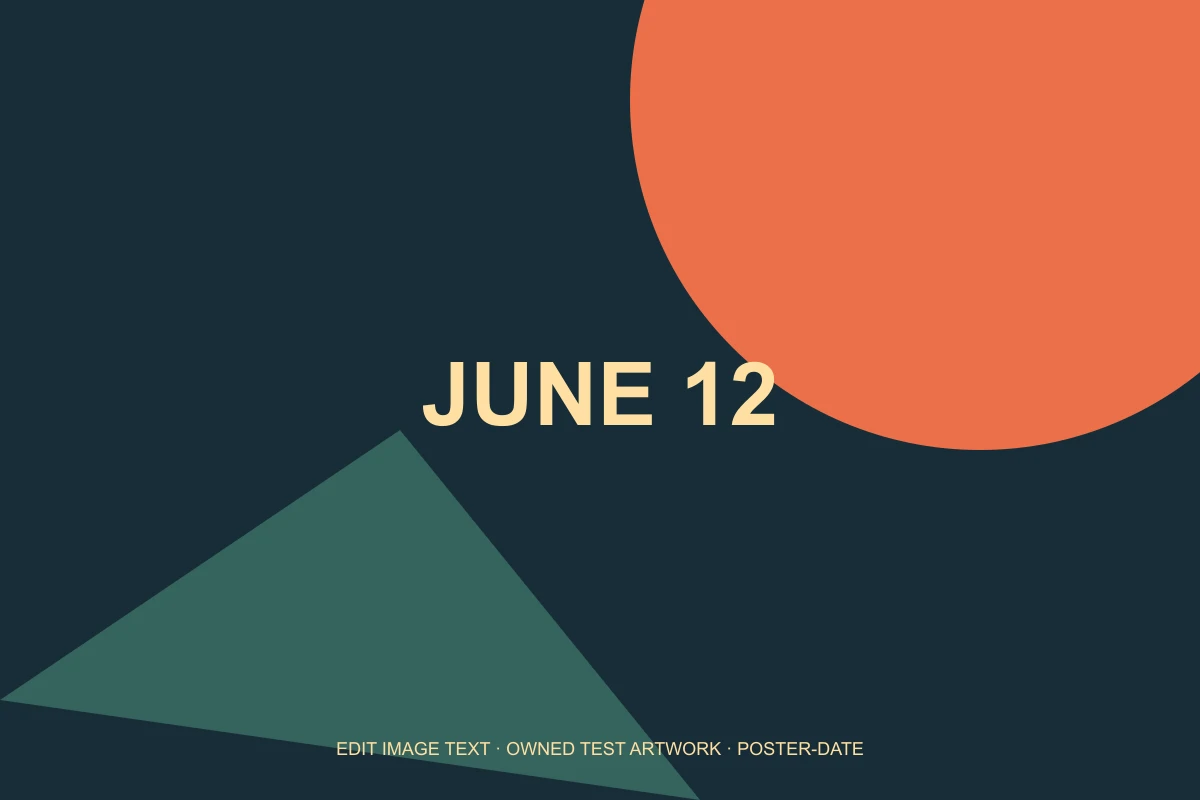
Inherited example artwork, before and after. These images illustrate the editing task; they are not measurements of EditText production. One short date on flat poster artwork illustrates a limited change, not dense small print or print readiness.
“2K” is a model resolution setting, not a promise that every aspect ratio produces a 2048-pixel-wide file. Check the dimensions of the file you actually receive.
See the homepage editing examples. For interface labels instead of posters, use the screenshot text editor.
3. Name the complete phrase
Choose Replace text mode. Type the old wording exactly as it appears, including capitals and punctuation, then type the new wording. If a number appears several times, include an adjacent item name or label so the intended occurrence is less ambiguous.
To update a menu price, include the item name. The menu illustration uses LATTE 4.50 rather than only 4.50, with LATTE 5.00 as the replacement. That makes the requested price change specific, although it still does not guarantee that the model will leave other numbers untouched.
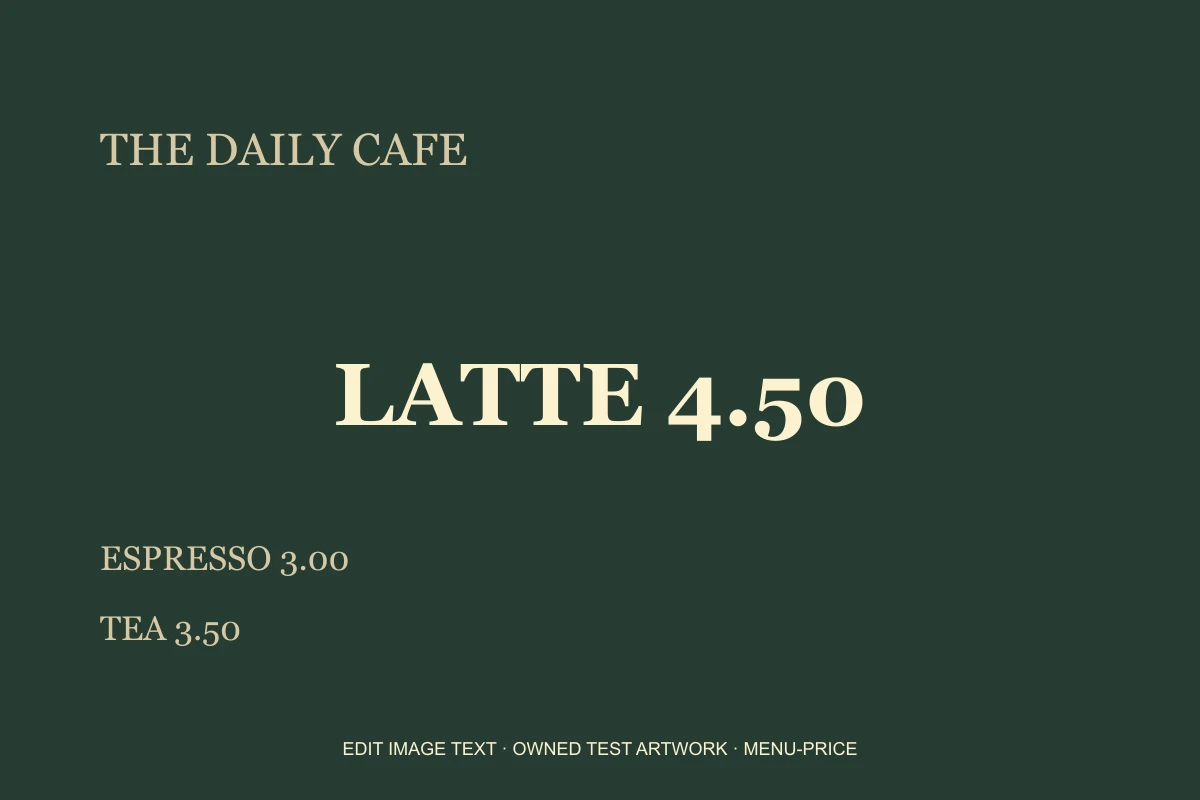
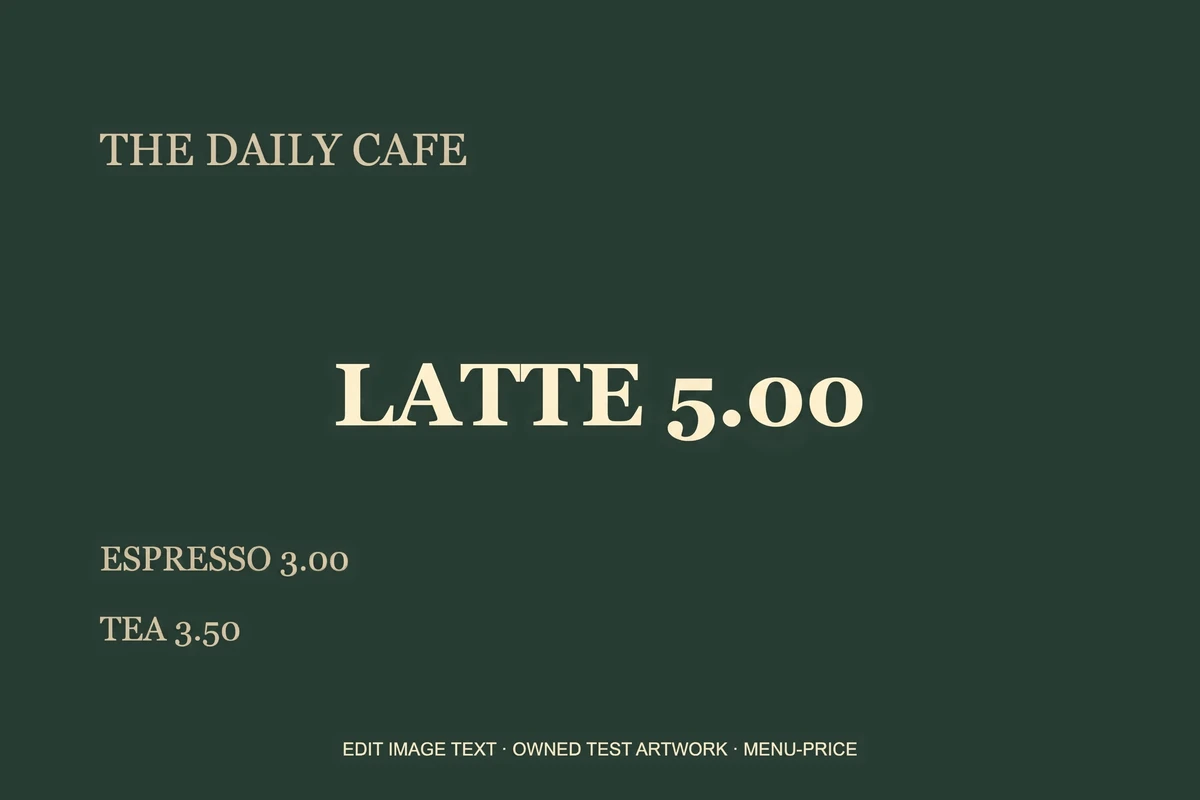
Inherited example artwork, before and after. These images illustrate the editing task; they are not measurements of EditText production. The changed price is legible; this does not validate allergens, ingredients or a full multi-column menu.
Read every neighboring price and decimal point yourself. The model cannot establish the correct price, ingredient list, allergen information or legal accuracy of a menu. Those facts must come from your own verified source.
4. Separate a generated file from a correct edit
When processing finishes, inspect the complete image. A successful provider task means a file was returned and stored. It does not prove the right characters were drawn or that the background remained suitable.
The editor shows a changed-area estimate and, when possible, a close-up. Its pixel comparison does not read the replacement text. A small changed percentage can still contain a wrong letter. Check spelling at full size, then look at the result at the size where people will actually use it.
If the result changes too much or has a different shape, the verification panel warns you. Do not treat that warning as a successful background match. Keep the original and either try a smaller correction or return to a design tool.
5. Download only after review
PNG avoids adding another lossy compression step. JPG can be smaller, but its white background replaces transparency in the composited export. Both options retain the larger working dimensions when a model result is larger than the source.
Restoring the original background at a larger size involves scaling that source. It does not create photographed detail that the source never captured. For print, compare actual pixels with your printer’s required size and inspect the edge of the edited region.
Keep the limits in mind
A clear headline on a simple background is easier to specify than dense small print or lettering over a repeating texture. These illustrations show what to inspect; they do not establish a success rate or turnaround time for your image. See the homepage examples and background-preservation guide for further review steps.
Each submitted edit uses one site credit. A technically failed task refunds that credit automatically. A returned image can still be visually unsuitable, so review the actual output before using it.